Google Calendar Integration

How To Send SMS Notifications From Google Calendar Using Zapier
In this article, we’re going to show you how to combine Google Calendar and DialMyCalls to send SMS text message notifications by using Zapier. Zapier is a platform that makes automating different services super easy, saving you time and resources in the long run.
The example we’re going to use in this article involves sending SMS text message notifications to your subscribers when an event is upcoming in your Google Calendar. You can use this to remind patients about their appointments, inform an audience when an event changes dates, and let employees know when their next meeting is.
Google Calendar + DialMyCalls Integration (Video)
What You’ll Need:
- A Zapier account
- Google Calendar access
- A DialMyCalls account
Step 1: Create Your Zap
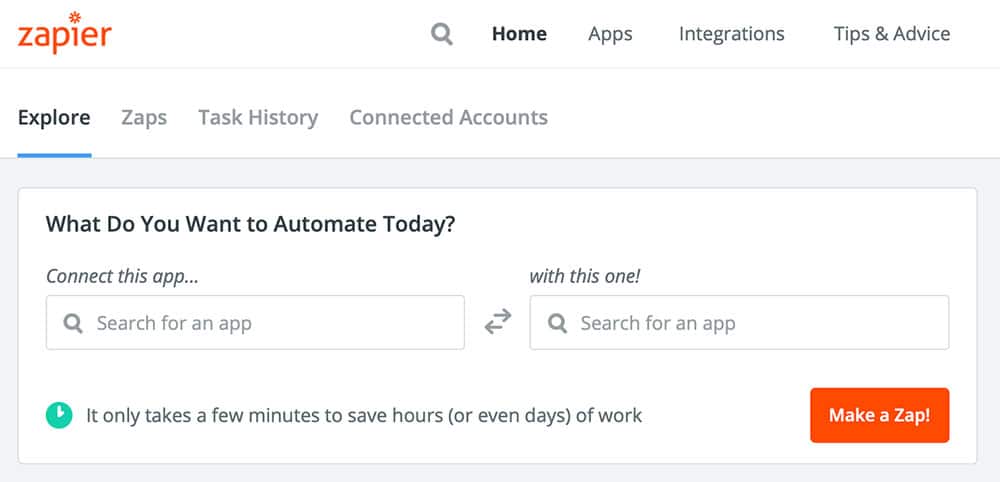
The first step is the simplest, and if you’re familiar with Zapier, you’ve likely done this a hundred times. To start, you need to create a Zap that connects Google Calendar to DialMyCalls. If you’re on the homepage of your Zapier account, you should see the following screen:
In the box labeled Connect this app… you’re going to type in “Google Calendar” and select it once it appears in the field. And in the second box, with this one!, you’ll type in “DialMyCalls” and select it as well. Then all you have to do is hit Make a Zap!
Step 2: Create Your Google Calendar Trigger
Next, you should see yourself facing a page that looks like this:
This is the step where you’ll create your trigger. The “trigger” is – as the name subtly implies – the thing that tells your Zap when to run. When the trigger happens, the Zap does its thing. In our case, we want our Zap to send out SMS text message notifications through DialMyCalls whenever something happens in our Google Calendar.
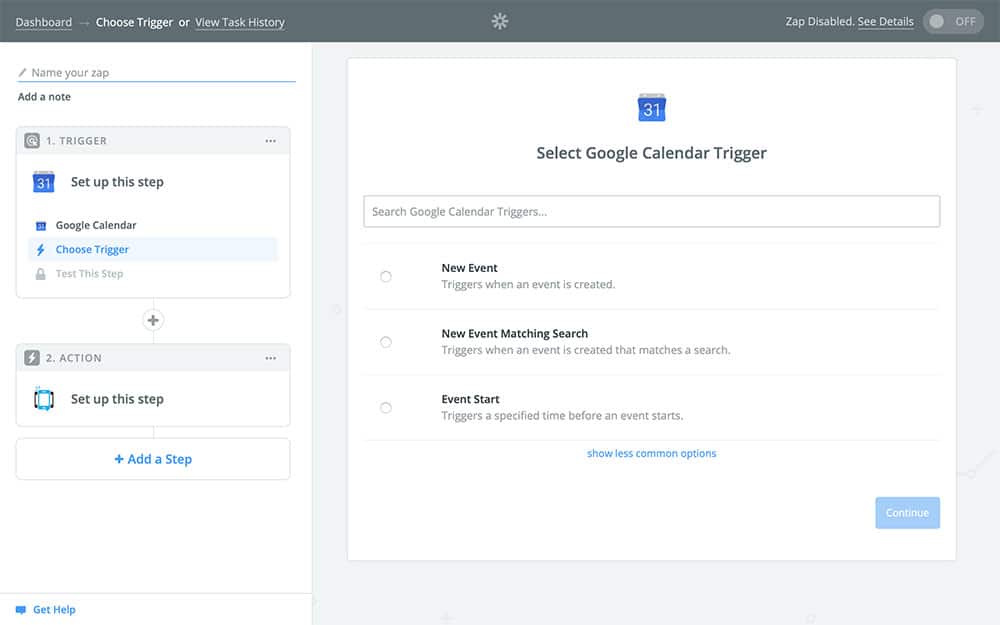
In this example, we’re going to assume that you want to remind your SMS text message subscribers of an upcoming event the day before it happens, which we’ll set up as our trigger. However, you could also set your trigger to fire when an event is canceled, when the date is changed, when the event is over, and so on. You could also create a Zap for each of these and more, so just because we’re creating a pre-event reminder, don’t hesitate to explore the possibilities for yourself and make it your own.
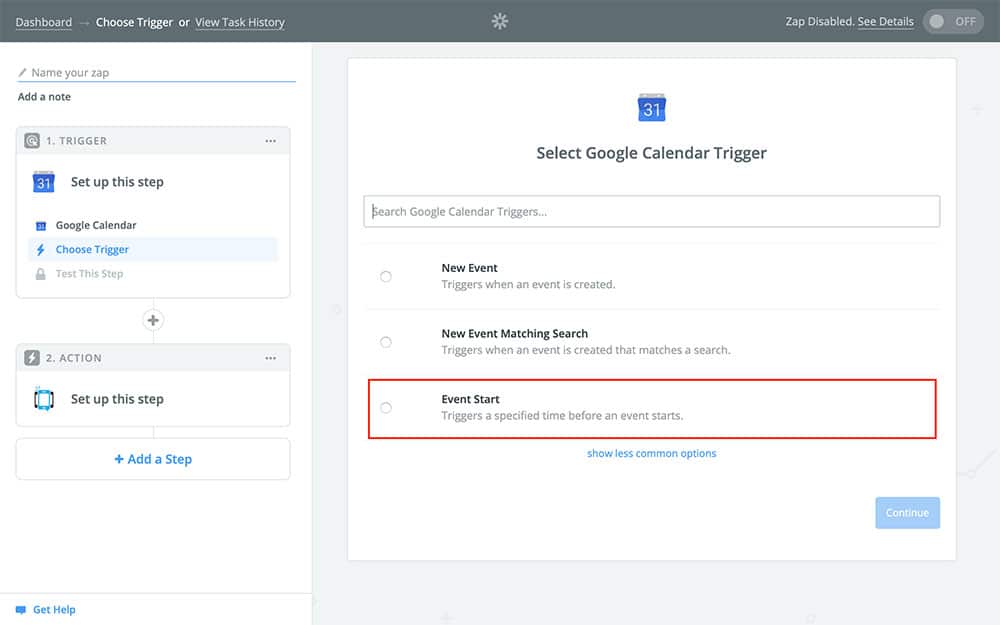
For our needs, we’re going to pick Event Start, as shown below:
If you don’t see the option you’re looking for, you can type it into the search field or click show less common options at the bottom of the page. Once you’ve got your trigger selected, hit Continue.
After this, you’ll be asked to connect your Google Calendar Account:
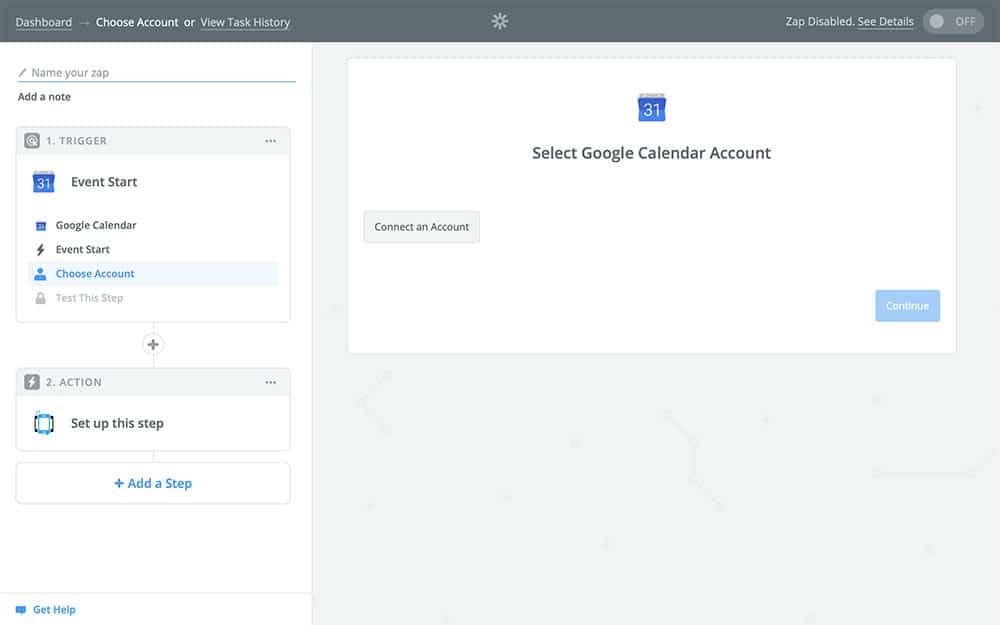
If you’ve used Google with Zapier before, you should see your Google account as an option on this page. Otherwise, you’ll select Connect an Account and go through the Google sign-in process. After you’ve done this, you can Continue.
The next page you’ll see looks like this:
This is where you’ll specify exactly what sets off your Zap. First, you’ll need to choose the relevant calendar. Then, in the next two boxes, you can specify how long before an event happens until your Zap fires off. In the above screenshot, your SMS notification would send 15 minutes before an event starts.
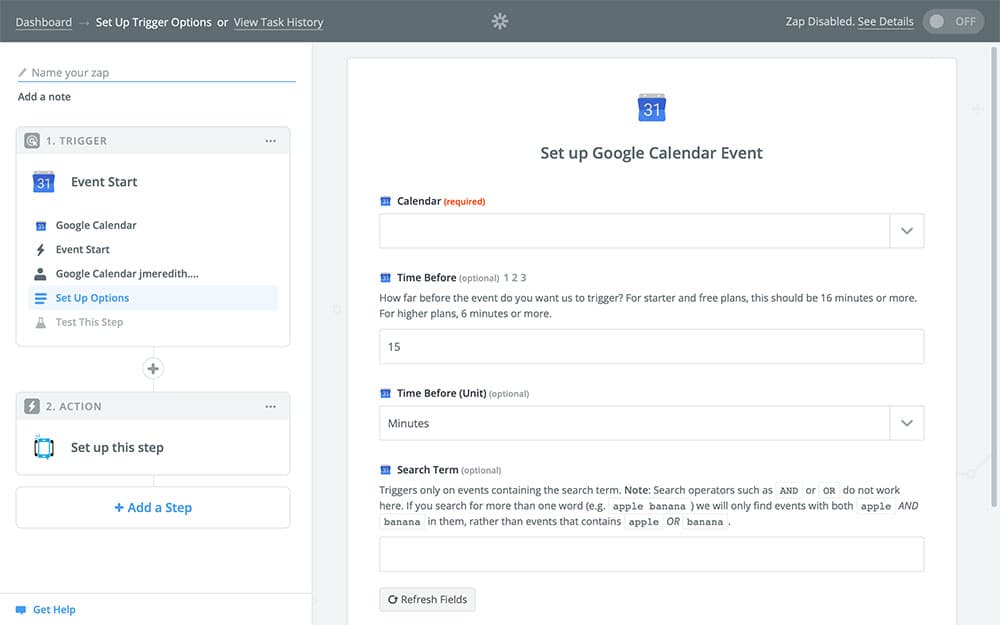
The last field, Search Term, gives you control over which events trigger your Zap to run by using a keyword. Say, for example, that you were a venue, and you wanted to send out reminders to ticket purchasers about a concert the day before it starts. However, your venue also shows magic acts, and you keep these events in the same calendar as your concert events. Since you don’t want your concert-goers getting magic-act notifications, you would type “concert” in the Search Term box. This way, only your calendar events that have “concert” in the title will trigger this Zap.
After you’ve filled out your template and hit Continue, Zapier will either ask you if you want to put in samples or it’ll randomly generate one for you. These samples are just used in the next step to help you understand what you’re creating – they won’t actually be used when your Zap runs. All you have to do here is hit Continue until you get to the Action step.
Step 3: Create Your DialMyCalls Action
Once you’ve made it through the last steps of creating your Zap’s trigger, you’ll find yourself at the following screen:
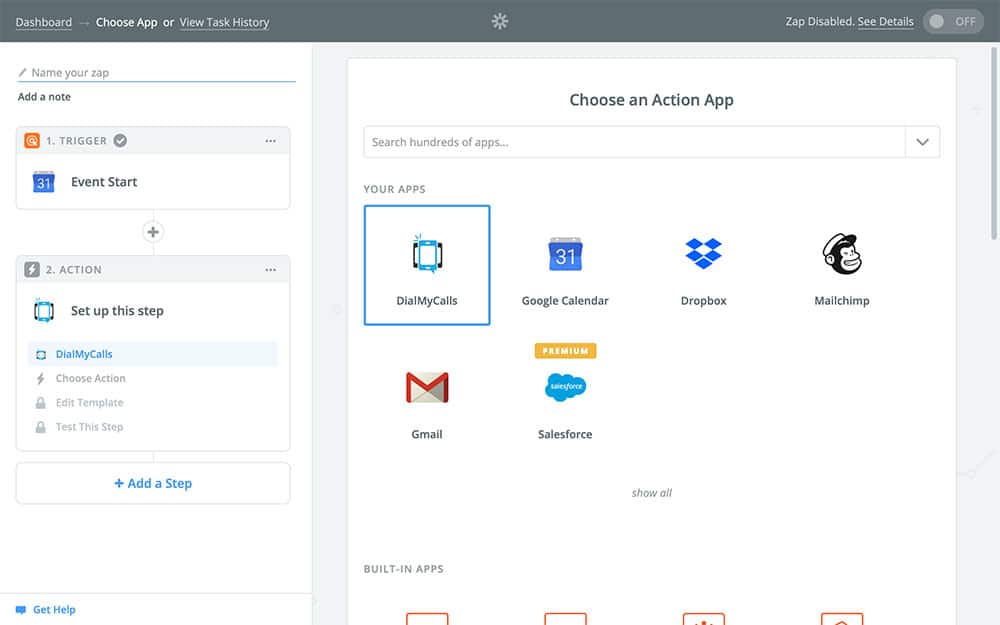
Since we chose DialMyCalls when first creating the Zap, it should be the first option, like above. If not, however, you can easily search for it in the search field and select it that way. Once you have it selected, you can click Continue.
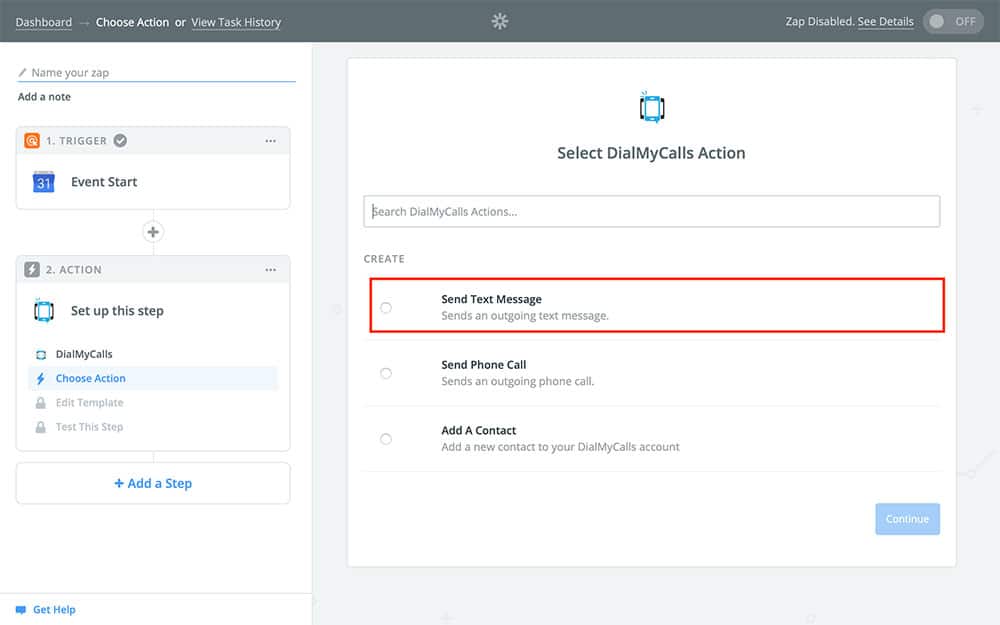
Next, we’re going to decide what DialMyCalls is going to do once your Zap is running. In our case, that’s going to be Send Text Message. Choose it from the available options (as shown below) and Continue to the next step.
Next, you’ll need to connect your DialMyCalls account to Zapier, if you haven’t already done so. To connect your DialMyCalls account to Zapier requires an API key. This is a randomly generated code – unique to your DialMyCalls account – that you can use to connect to various apps and services. When you click Connect an Account on Zapier, it’ll take you to this page:
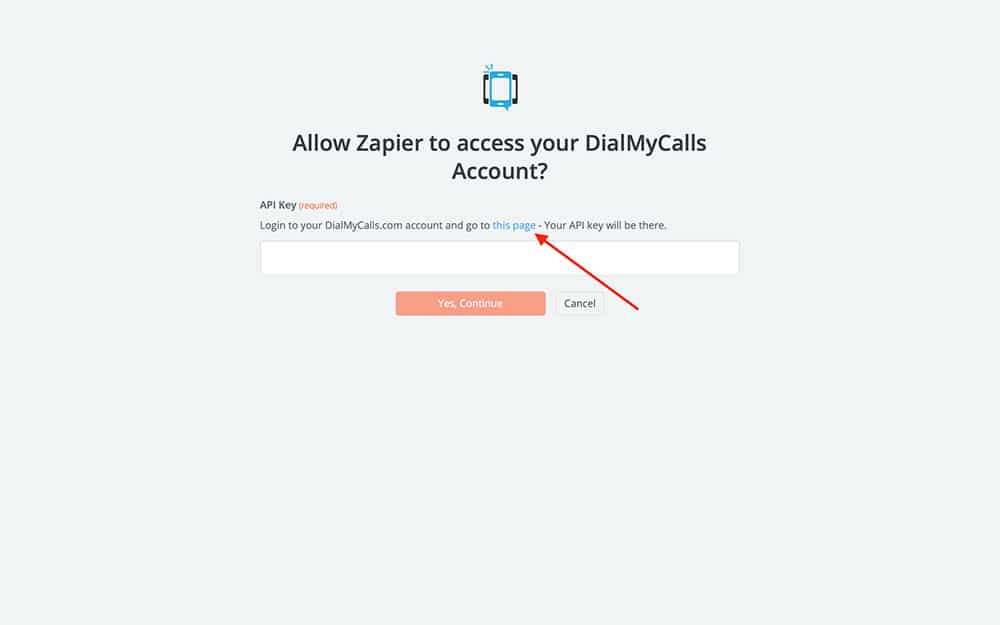
This is where you’ll paste your API key from DialMyCalls. You can find this key in your account on your own, or use the link provided by Zapier, indicated by the red arrow in the above image. Clicking on this link will take you to the following page:
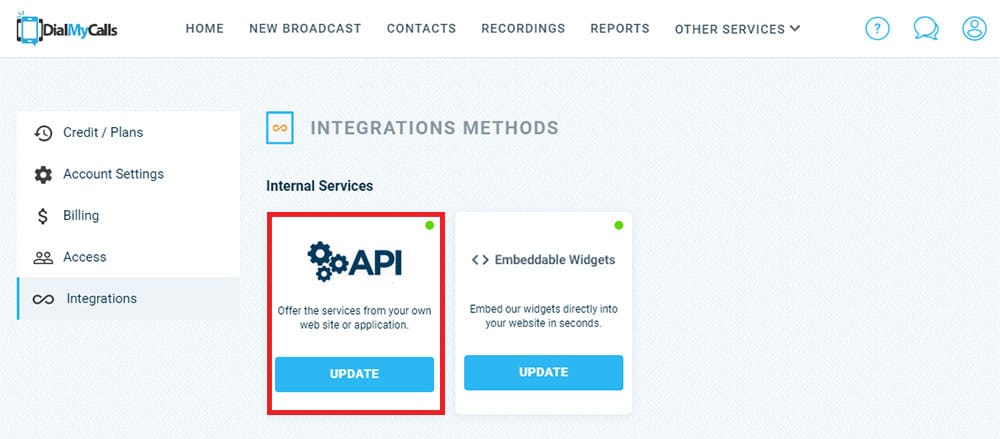
All you have to do on this page is copy the code following API Key. Your code will be a string of random letters and numbers. Once you’ve copied it, you can go back to the previous page in Zapier and paste it into the box, selecting Yes, Continue afterward. You’ll now see your DialMyCalls account selected in your Zap. Select it and Continue.
The next step is where the fun begins. You should be looking at the image below, which is the template for your Zap:
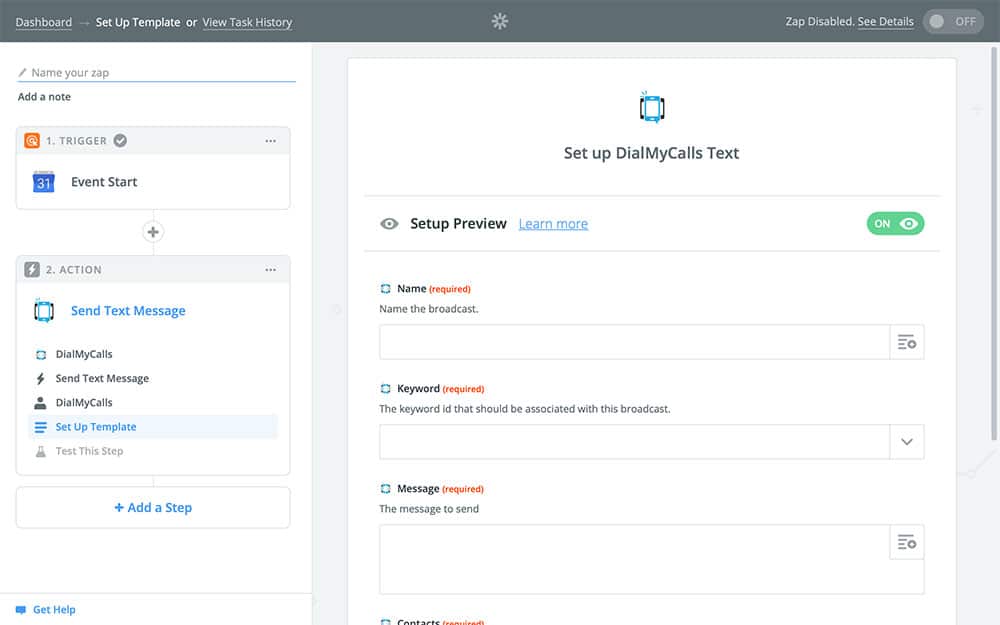
This is where you will decide what the notification that your SMS text message subscribers receive will look like. Once again, we’re going to use the example of sending out a notification the day before an event is set to start. The way you fill out this section will vary slightly, however, depending on what your notification’s purpose is.
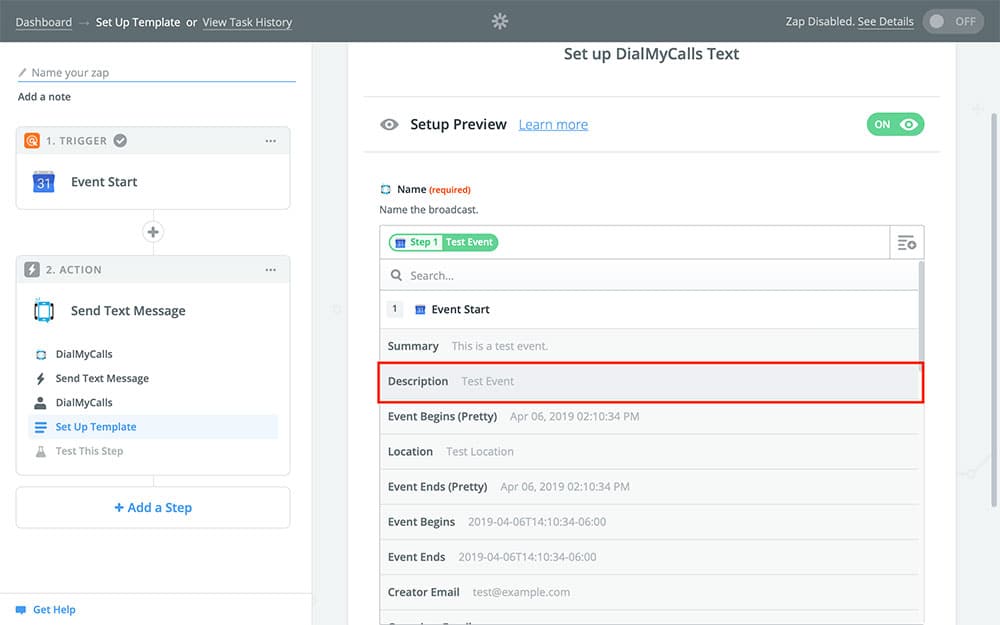
For the Name of your notification, we’re going to choose Description from the dropdown menu in the first field. This will pull the name of the event from Google Calendar and use it in your notification. The image below shows how to select this option:
The next field is Keyword. Your keyword is unique to your DialMyCalls account, and it’s how your subscribers will subscribe to your SMS text messages and know that the messages you send are coming from you. Your DialMyCalls account comes with a default keyword, though you can make a custom one once you purchase the service. If you have multiple keywords, you’ll use whichever one is relevant to the notification you are sending out. You should see all of your keywords displayed when you click on the dropdown menu for this field.
Next is your Message. This is – as you would expect – what will actually be in the text that your subscribers receive. In our case, we want subscribers to know the event that they’re being notified of, the time that it starts, and the location. You can find all of these things in the dropdown menu of the Message field. By mixing and matching these variables with your own text message, you can create something that looks like this:
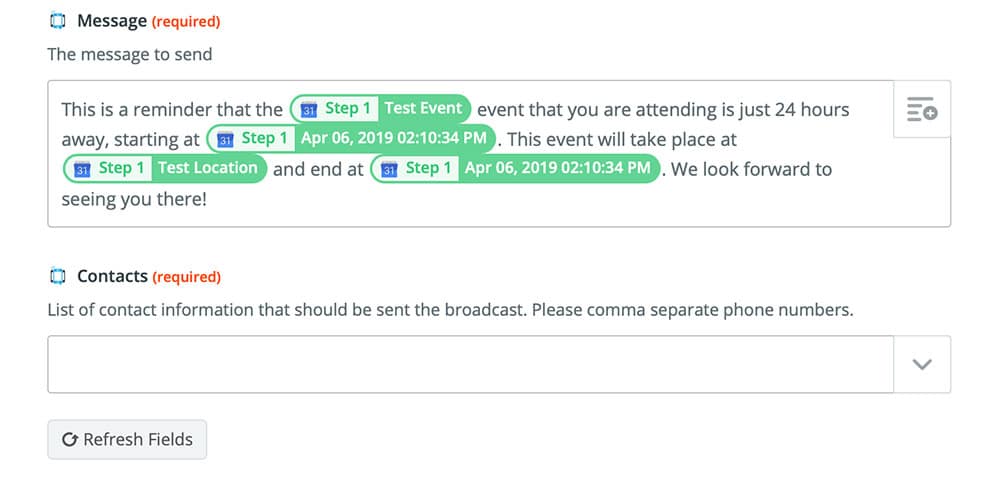
All of the green bubbles will change automatically depending on the event that triggers your Zap. Keep in mind that if you include variables like Location (as in the above image) that your events will all have to have a Location attached to them. Otherwise, your message won’t send correctly.
Next, for Contacts, you’ll select the group of contacts that you want to notify. Going back to our venue example from earlier, if this was a notification being sent to your concert-goers, you’d want to choose your Contact list of concert-goers. Once you’ve chosen this, you’re ready to hit Continue.
You’re now at the last step of creating your Zap! Zapier will ask if you want to test your Zap before turning it on. All this will do is send out a test to see if everything is working as it should. Sending out this test won’t send out a real message to any of your subscribers, however. You can opt to skip the test if you want, though. After this page, you’ll find yourself here:
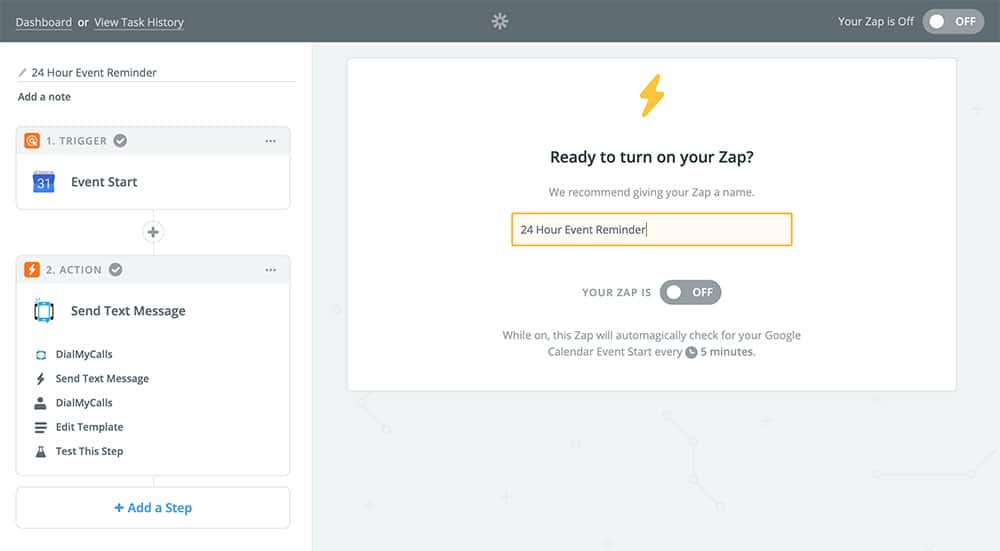
From here, all you have to do is name your Zap and turn it on! Once you click the OFF switch in the middle of the page, your Zap will go live, and your SMS text message subscribers will be notified anytime that your Zap is triggered.
DialMyCalls + Google Calendar Integration Conclusion
To recap:
- We created a Zap that links Google Calendar to DialMyCalls
- We set our Zap to run 24 hours before an event in our Google Calendar is scheduled to happen
- We created a notification that will remind SMS text message subscribers about the event, providing them with the start time, end time, and location of the event.
By combining DialMyCalls + Google Calendar, you can send your subscribers reminders about events, appointments, and meetings, as well as let them know about changes made to these events. This allows you to easily stay in touch with your subscriber base without having to manually send out messages, saving you time and headaches.
This Google Calendar integration is only one example of the ways that you can use DialMyCalls with Zapier. Don’t hesitate to experiment with your own ideas and utilize the platform to its fullest potential!