HubSpot Integration

Send SMS Text Messages & Automated Phone Calls To Your HubSpot Contacts
In this article, we’re going to show you how to combine HubSpot and DialMyCalls by using Zapier. Zapier is a platform that makes automating different services super easy, saving you time and resources in the long run.
The example we’re going to use in this article involves syncing your HubSpot Contacts with DialMyCalls. This allows you to manage your contacts better with less work. It also means that you’ll be able to organically grow your DialMyCalls contacts with potential leads, improving your sales.
HubSpot + DialMyCalls Integration (Video)
What You’ll Need:
- A HubSpot Professional/Enterprise/Basic account
- A DialMyCalls account
- A contacts list in HubSpot
Step 1: Create A Contact List In HubSpot
If you don’t already have one, the first thing you’ll need to do is create your contacts list in HubSpot. You can add contacts to HubSpot without a list, but you won’t be able to sync these contacts with DialMyCalls unless they’re a part of a list. You will also need to have a paid HubSpot account in order to create a contacts list.
Unless you only use HubSpot for one type of client, we recommend creating a list specifically for syncing with HubSpot. This helps keep things organized between the two apps so that you always know which contact belongs where. How you organize your lists is completely up to you, though, so all you need to do is make one.
To do this, login to your HubSpot account, and select the Contacts tab:
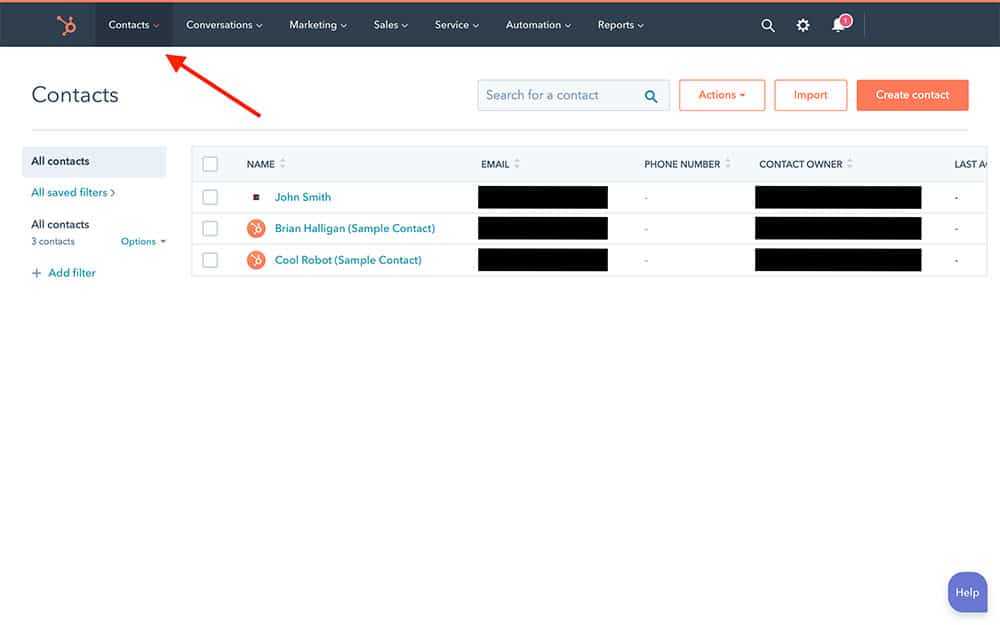
From there, choose Create List. You can name your list whatever you like and add contacts to it now if you want. Keep in mind, though, that any contacts added to this list before creating your Zap won’t be synced with your DialMyCalls contacts.
Step 2: Create Your Zap
Now that your contacts list is created, you’re ready to create your Zap! Log in to Zapier and go to your Dashboard. At the top of the page, you’ll see a box with the words, “What Do You Want To Automate Today?”
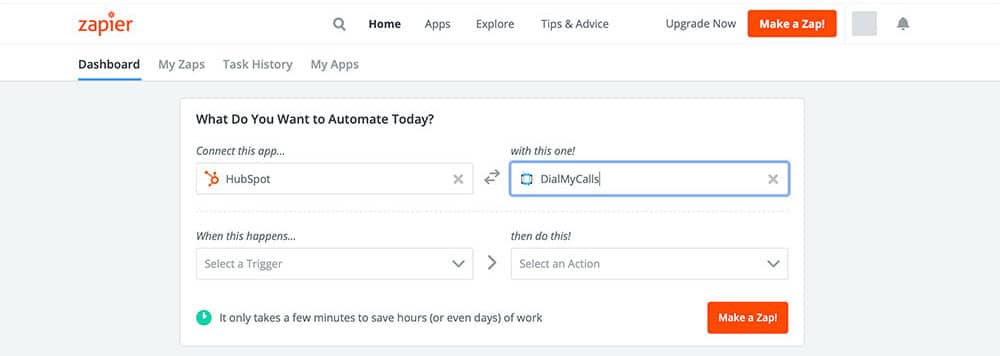
This is where you’ll create the framework for your Zap. In the Connect this app… field, type in “HubSpot,” and select it when it appears. Make sure to select HubSpot and not HubSpot CRM, as these are two different services. In the second field, with this one!, type in “DialMyCalls,” and select it as well. Then, all you have to do is select Make a Zap! In the lower right.
You have now created a Zap – sort of.
Step 3: Create Your HubSpot Trigger
Now you have the bare bones of your Zap created, but it doesn’t have enough information to really do anything yet. In order to get the ball rolling, we’re going to set up your HubSpot trigger.
Your Zap’s “trigger” is – as the name implies – what tells your Zap to start running. Every time your trigger happens, your Zap will do its thing – which in our case is syncing your contacts.
After selecting Make a Zap!, you should be looking at the following screen:
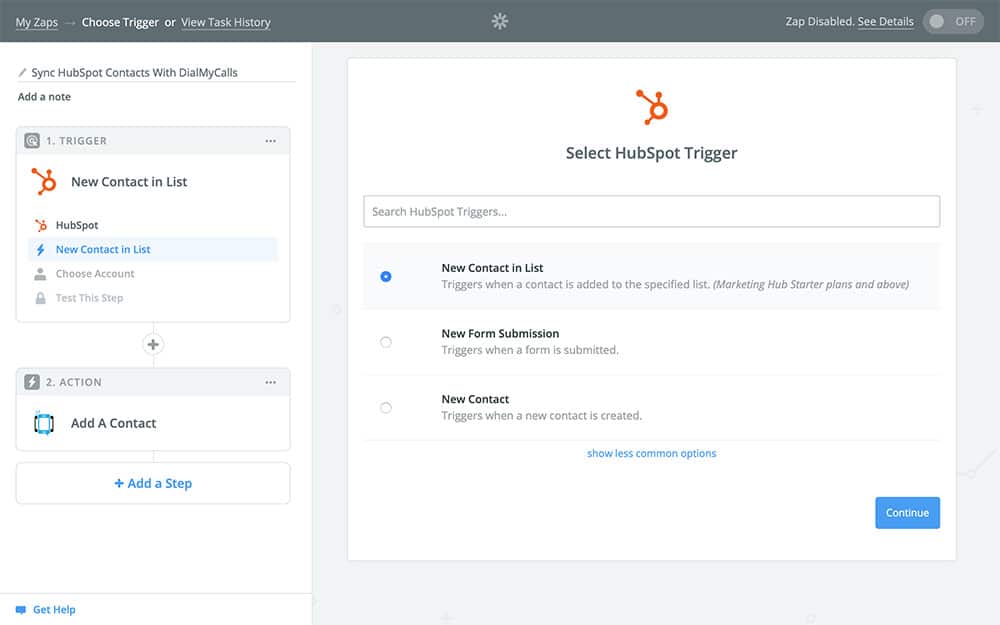
This is where you decide what event in HubSpot causes this app to run. You can choose from the list or use the search field to find something more specific. For this particular Zap, we’re going to choose New Contact in List. If you don’t see it in the available options, you can search for it in the search field. Once you have it selected, choose Continue. You’ll now be looking at the following screen:
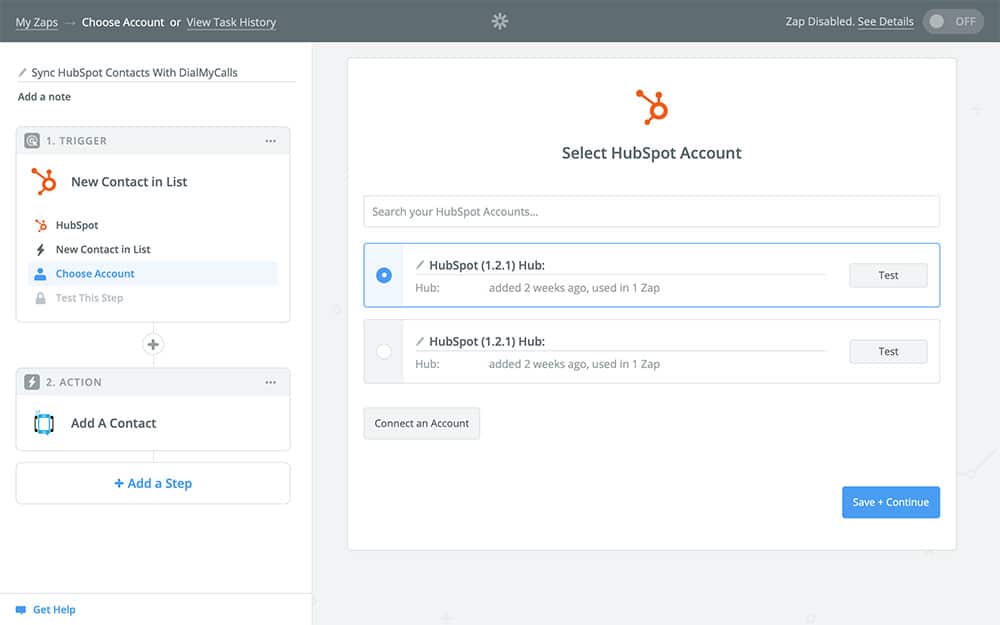
This is where you’ll connect your HubSpot account to your Zap. If you’ve already used HubSpot with Zapier before, you should see your HubSpot account as an option, like in the screenshot above. Otherwise, you’ll need to connect your account. Once you’ve done this, Continue.
The next screen is where you’re going to choose your HubSpot contact list. You should see the following:
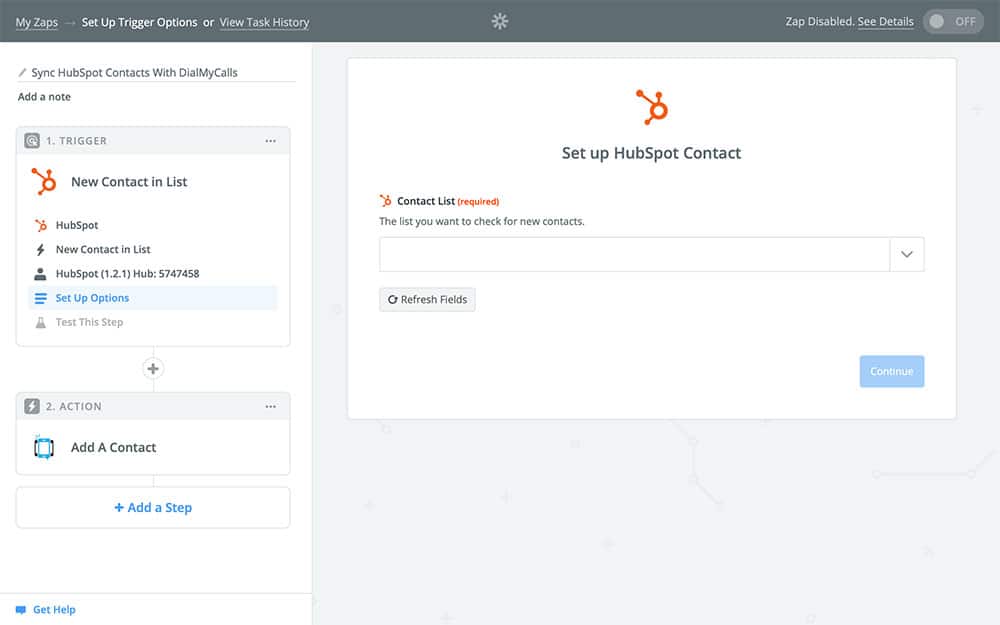
Since we already created our HubSpot contact list, all you need to do is choose it from the dropdown menu. Keep in mind that a contact list is required for this Zap to work, so if you don’t have one you won’t be able to get past this step. Once you’ve chosen your list, Continue.
Next, Zapier is going to ask you to pull in a sample. Your “sample” is what’s going to be filled in while setting up your Zap, just so that you can be sure of how your Zap will work. It won’t actually be used when your Zap runs, so it doesn’t matter what sample is used. You can choose to either pull a sample contact from your HubSpot account, or you can ask Zapier to generate a random sample, like so:
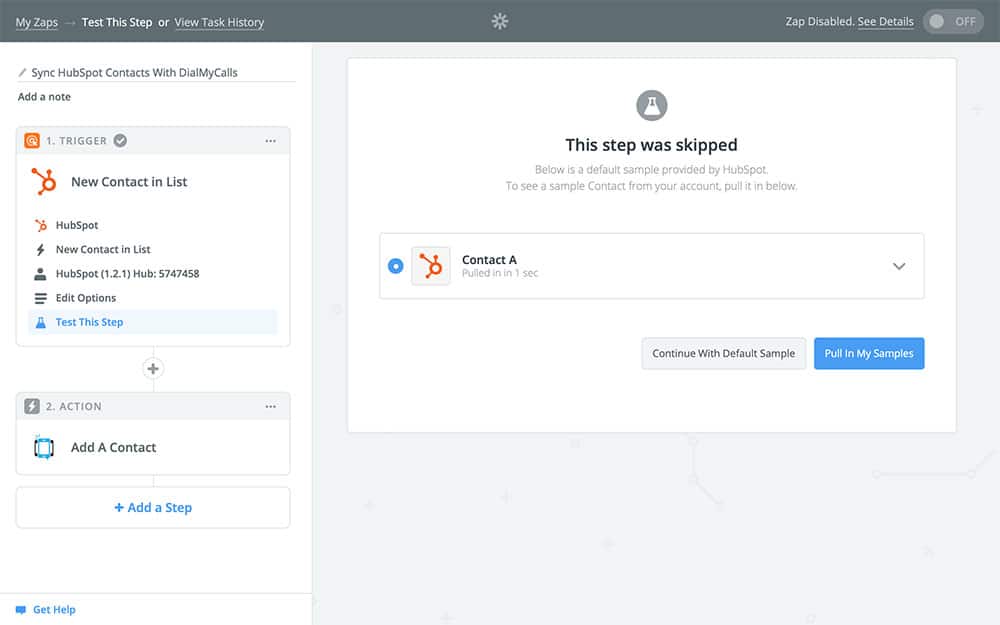
After you have it selected, Continue through the rest of this section to complete your trigger.
Step 4: Create Your DialMyCalls Action
Now that your trigger is created, it’s time to get to the fun part: the action. This is what your Zap is actually going to do once it gets going, which in our case is copying your HubSpot contacts to DialMyCalls.
The first screen you’ll see in this section will look like this:
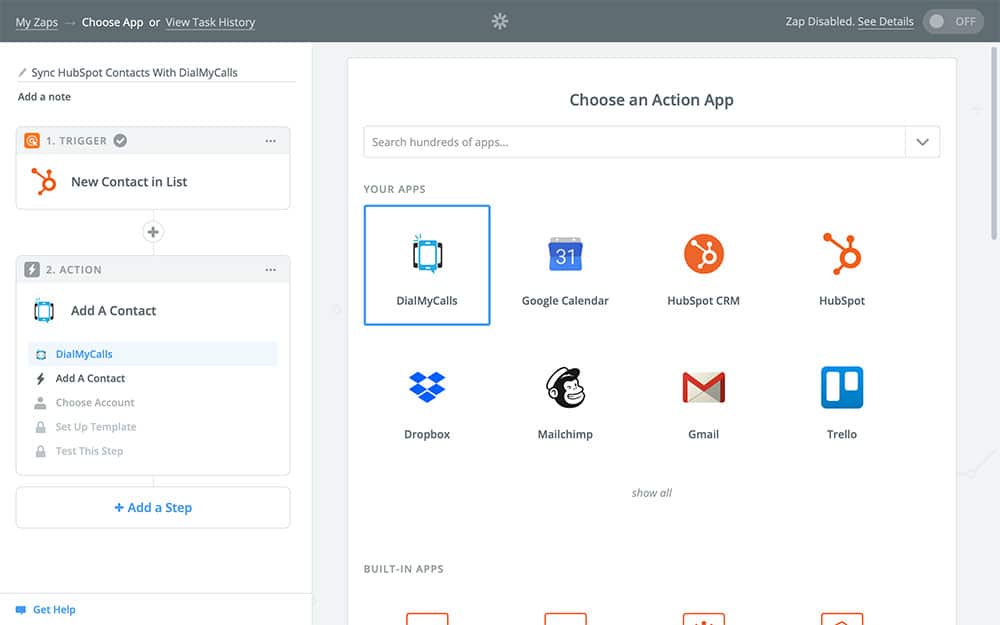
You should see DialMyCalls right at the top, but in case you don’t, you can use the search field at the top to find it. Once you have it selected, Continue to the next step – which is choosing your action. Your options will look something like this:
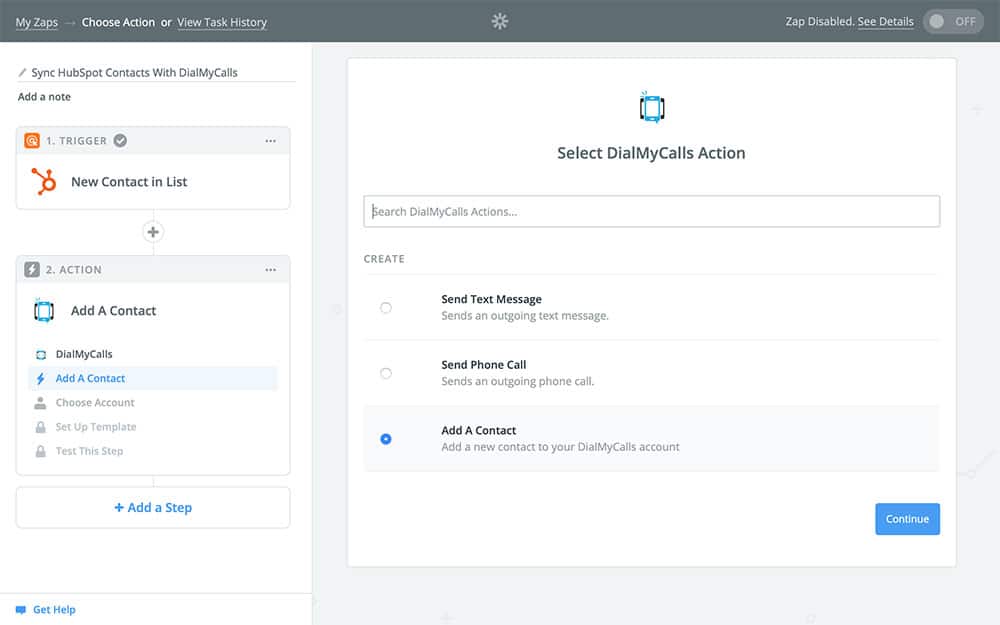
Since our goal is to keep DialMyCalls in sync with HubSpot, we’re going to choose Add A Contact. What we’re going to do from here is create a new contact in DialMyCalls every time a new contact is added to HubSpot, using the information from the contact created in HubSpot – or in other words, syncing.
After choosing Add A Contact select Continue, which will bring you to the account login page:
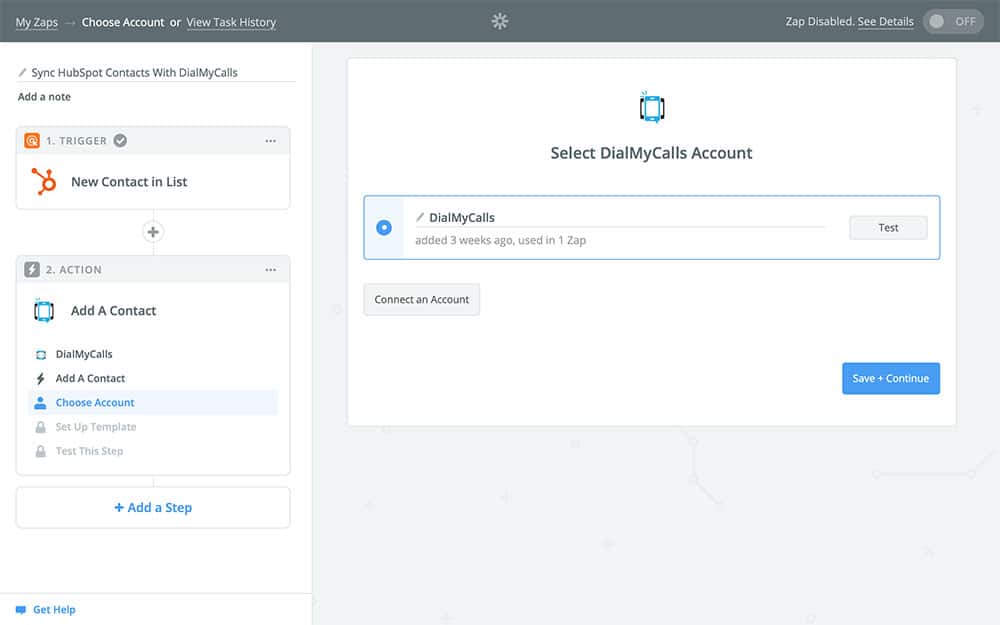
If you’ve used DialMyCalls with Zapier before, you should see your account as an option. Otherwise, follow the steps it takes you through to connect your account. Once finished, Continue to the next section.
You’ll now see a screen that looks different from all of the others – the template:
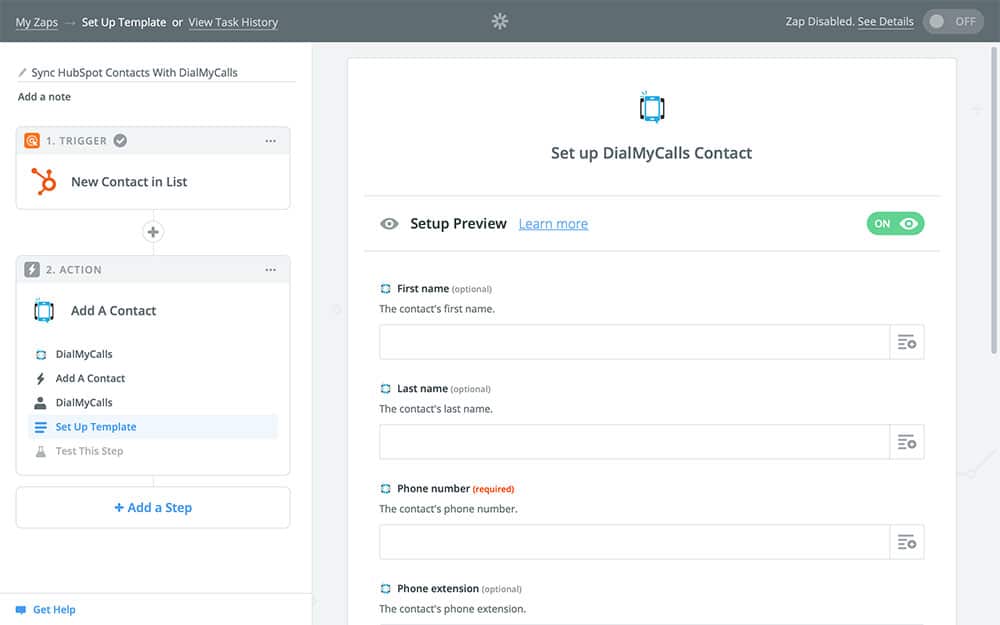
This is where you’ll specify exactly how you want the new contact to be created. Now, you could just type in “John Smith 555-555-5555” for all of the boxes, but all that would do is fill up your DialMyCalls contacts with a bunch of John Smiths. Instead, we’re going to use variables, which are what make Zapier such a useful service.
Even though it isn’t a required field, we’re going to start with the First name box to show you how variables work. If you select the little dropdown button on the side of this box, you’ll see something like this:
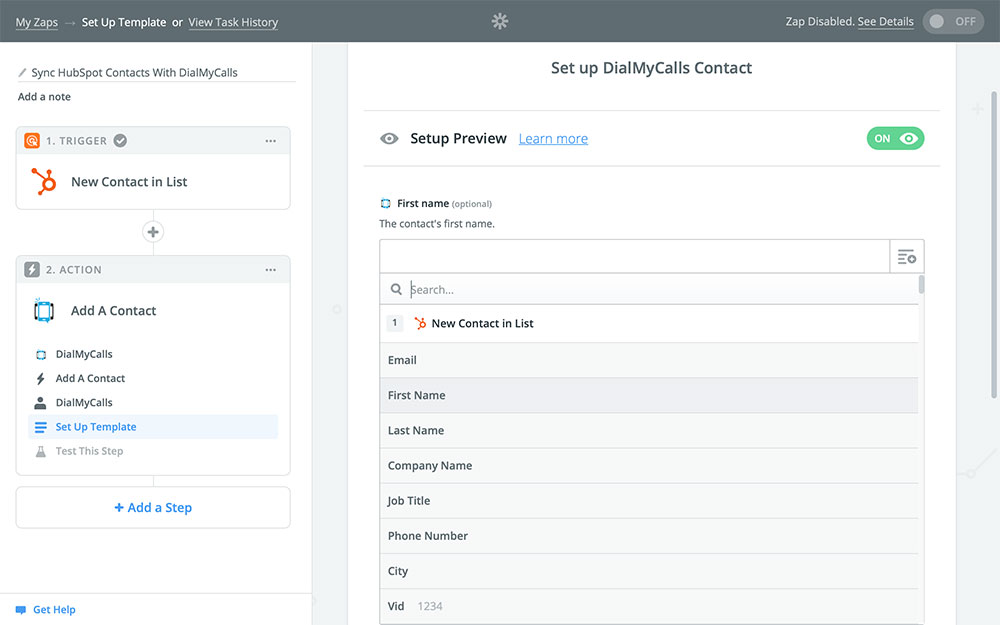
The options you’re looking at in this dropdown menu are actually pulled from the first step of our Zap. So, next to each of these options you should see the corresponding information from the sample you used in step one. This means that when you select First Name from the dropdown, the first name of the HubSpot contact will be filled in. In other words, we’re copying the information from HubSpot and moving it over to DialMyCalls.
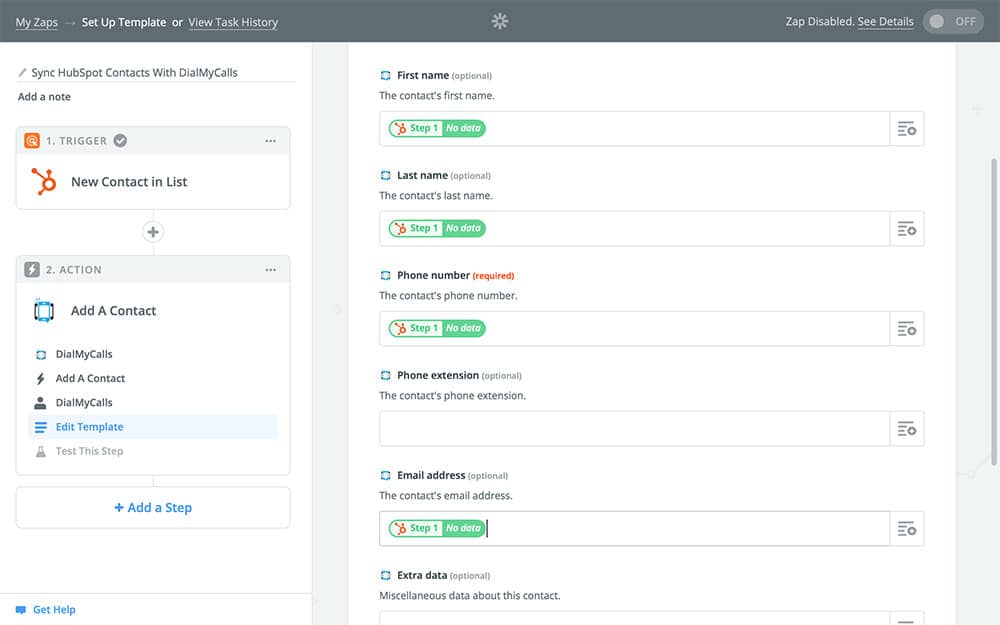
The only field you have to fill in is the Phone number field, though you can fill out as many as you like. Here’s our sample:
Once you’ve finished filling in all of the fields that you want to be filled in, you can Continue to the next step. Zapier will ask if you want to test the Zap, which you can, just keep in mind that it will create a fake contact in your DialMyCalls contacts using your sample. Otherwise, you can opt to skip the test. This will take you to the final screen of your Zap:
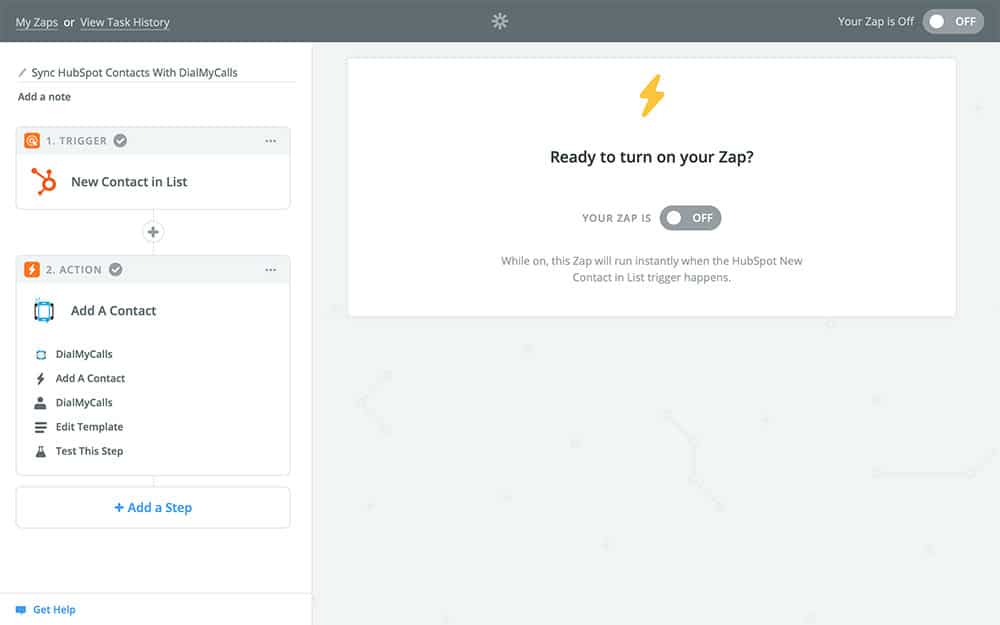
All that’s left to do now is name your Zap and turn it on! Once you turn it on, any HubSpot contacts that are added to your contacts list will automatically be copied to DialMyCalls, keeping the two services in sync with one another.
DialMyCalls + HubSpot Integration Conclusion
Here’s a quick recap of everything we did:
- Created a new contact list in HubSpot for contacts that you want to sync with DialMyCalls
- Created a Zap in Zapier that connects HubSpot to DialMyCalls
- Set our Zap to trigger when a new contact is added to our HubSpot contacts list
- Set up DialMyCalls to copy the information from any new HubSpot contacts into DialMyCalls when the Zap runs, effectively keeping the two services in sync with one another
And that’s that! Remember that this doesn’t copy over contacts that are already on your contacts list; it will only add contacts that are added after creating this Zap.
Also, keep in mind that this HubSpot integration is only one of the ways that you can use Zapier with DialMyCalls. You could also create this same Zap over again with multiple HubSpot contact lists, allowing you to keep your contacts organized on HubSpot while still syncing them with DialMyCalls. You can also connect HubSpot to DialMyCalls using Zapier to send text messages to new HubSpot Contacts.
There are tons of ways to get more out of DialMyCalls through Zapier. Don’t hesitate to experiment and try out more on your own!